For mushroom enthusiasts, amateur mycologists, and those interested in home cultivation, taking spore prints is an essential skill. These prints can be used to study mushroom genetics, identify species, and as the starting point for growing new mushrooms from spores. The process is relatively simple, but requires care and patience. In this guide, we’ll walk through the steps to take a successful spore print from your mushrooms.
What Is a Spore Print?
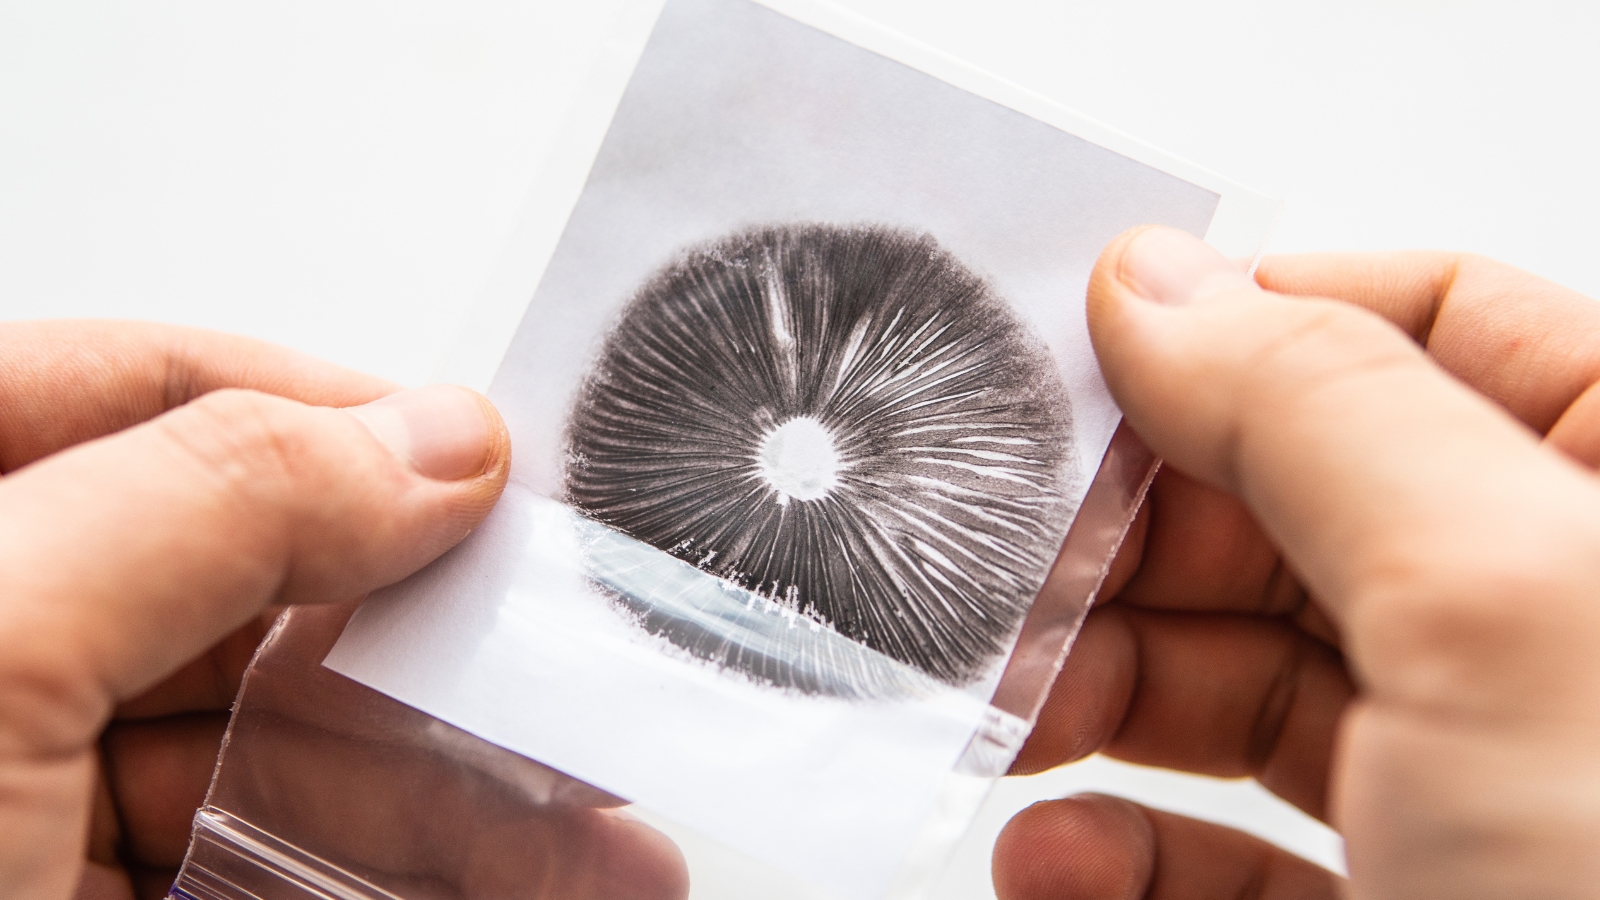
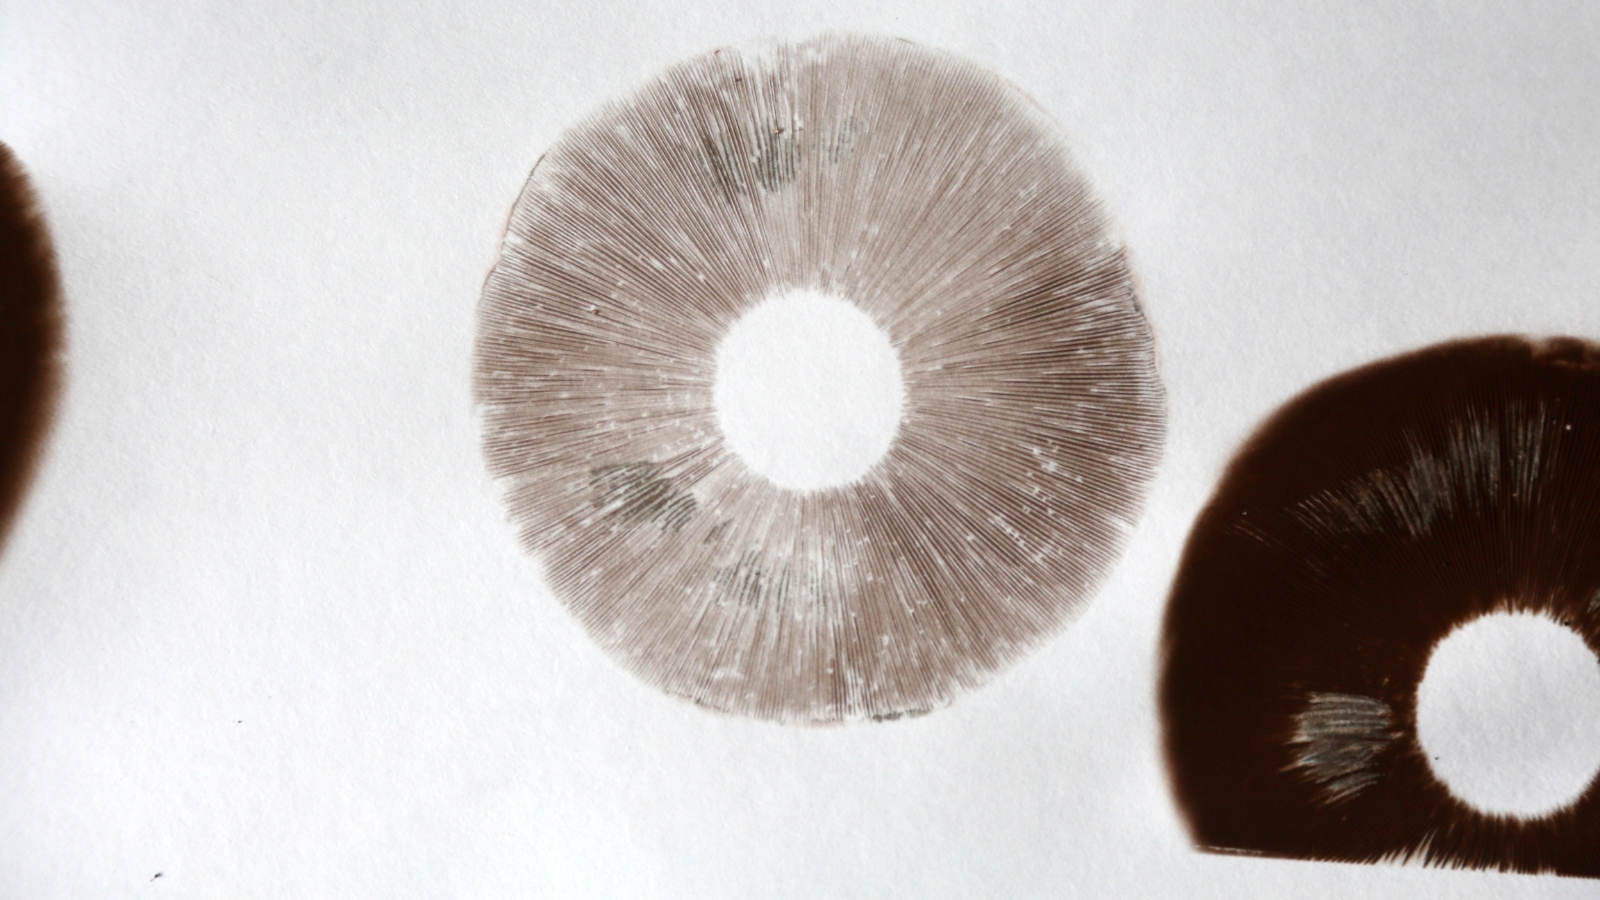
A spore print is a collection of millions of microscopic spores that have fallen from the cap of a mature mushroom onto a surface below. These spores are the reproductive units of fungi, similar to seeds in plants. When a mushroom cap is cut off and allowed to sit overnight, the ripe spores will detach from the gills and settle in a pattern on the surface underneath, creating a visual spore print.
Not only are spore prints fascinating to observe under a microscope, revealing the distinct spore colors and patterns of each mushroom species, but they also allow you to reproduce genetically identical mushrooms. The spores in a print can be used to grow a new generation of mycelium and mushrooms with the same traits as the parent mushroom.

Preparing for the Print
Before you take your first spore print, take some time to get familiar with the process and gather your supplies.
Choosing Mushroom Specimens
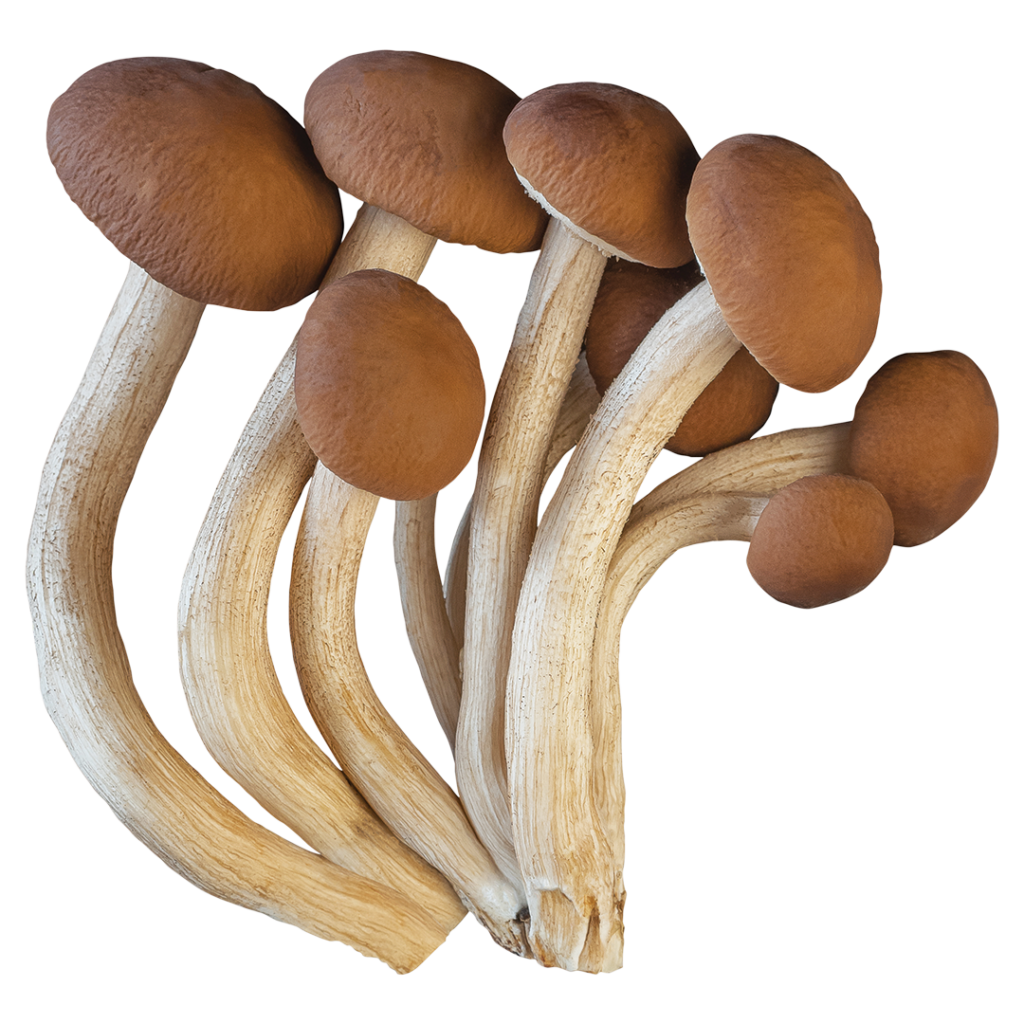
Look for mature, fresh mushrooms with an open cap that is neither too young nor too old. The gills underneath should be dark and ripe, but not dried out or decomposing. Pick or obtain a few good specimens of the same species you wish to print. It might take a few tries to get it right!
Gathering Supplies
You’ll need:
- Mature mushrooms
- Pieces of aluminum foil, glass, or paper to capture prints
- A sharp knife or razor blade to remove mushroom caps
- A cup, bowl, or box to create a still-air chamber
- Optional: A spray bottle with water to rehydrate caps if needed
The Printing Process
When you have all your supplies and intended mushrooms, it’s time to get ready to take a spore print.
Setting up the Print Area
- Create a flat, level surface to do your prints on, away from air vents or fans
- Cut out pieces of aluminum foil, glass, or paper for each mushroom cap
- Optional: Use a marker to label each piece with the species if doing multiple
Taking Caps and Preparing for Release
- Carefully twist off or use a knife to remove the mushroom cap from the stem
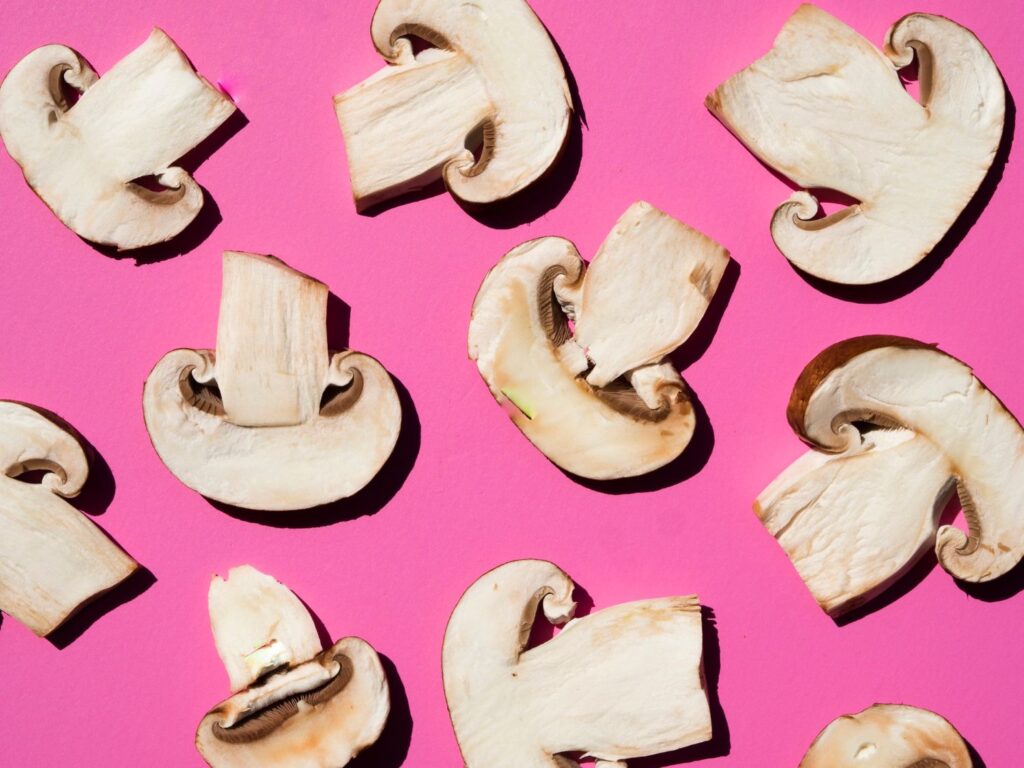
- Use a sharp knife to cut a cross or “X” shape on the underside of cap
- Place cap gently on the print surface, gills facing down
- Optional: Mist caps lightly with water if they seem dry
Allowing Time for Spore Release
- Cover the caps with a cup, box, or bowl to create a still-air chamber
- Allow 4-48 hours for spores to release, without disturbing
- Check periodically, caps may need re-misting if gills are drying out
Preserving and Storing Prints
Once a visible spore pattern has formed, carefully lift caps and set aside.
- For aluminum foil prints: Carefully fold the foil over onto itself to protect the print
- For glass or paper: Use spray lacquer or clear packing tape to seal the print
- Label each print with species info and date
- Store prints in a cool, dry place away from moisture and sunlight
Identifying and Using Spore Prints
With preserved spore prints, you can:
- Identify species by examining spore color under a microscope
- Grow new mushrooms by using spore solution or spore syringes
- Trade or share prints with other mushroom enthusiasts and cultivators
- Study genetic properties by examining spore size, shape, and patterns
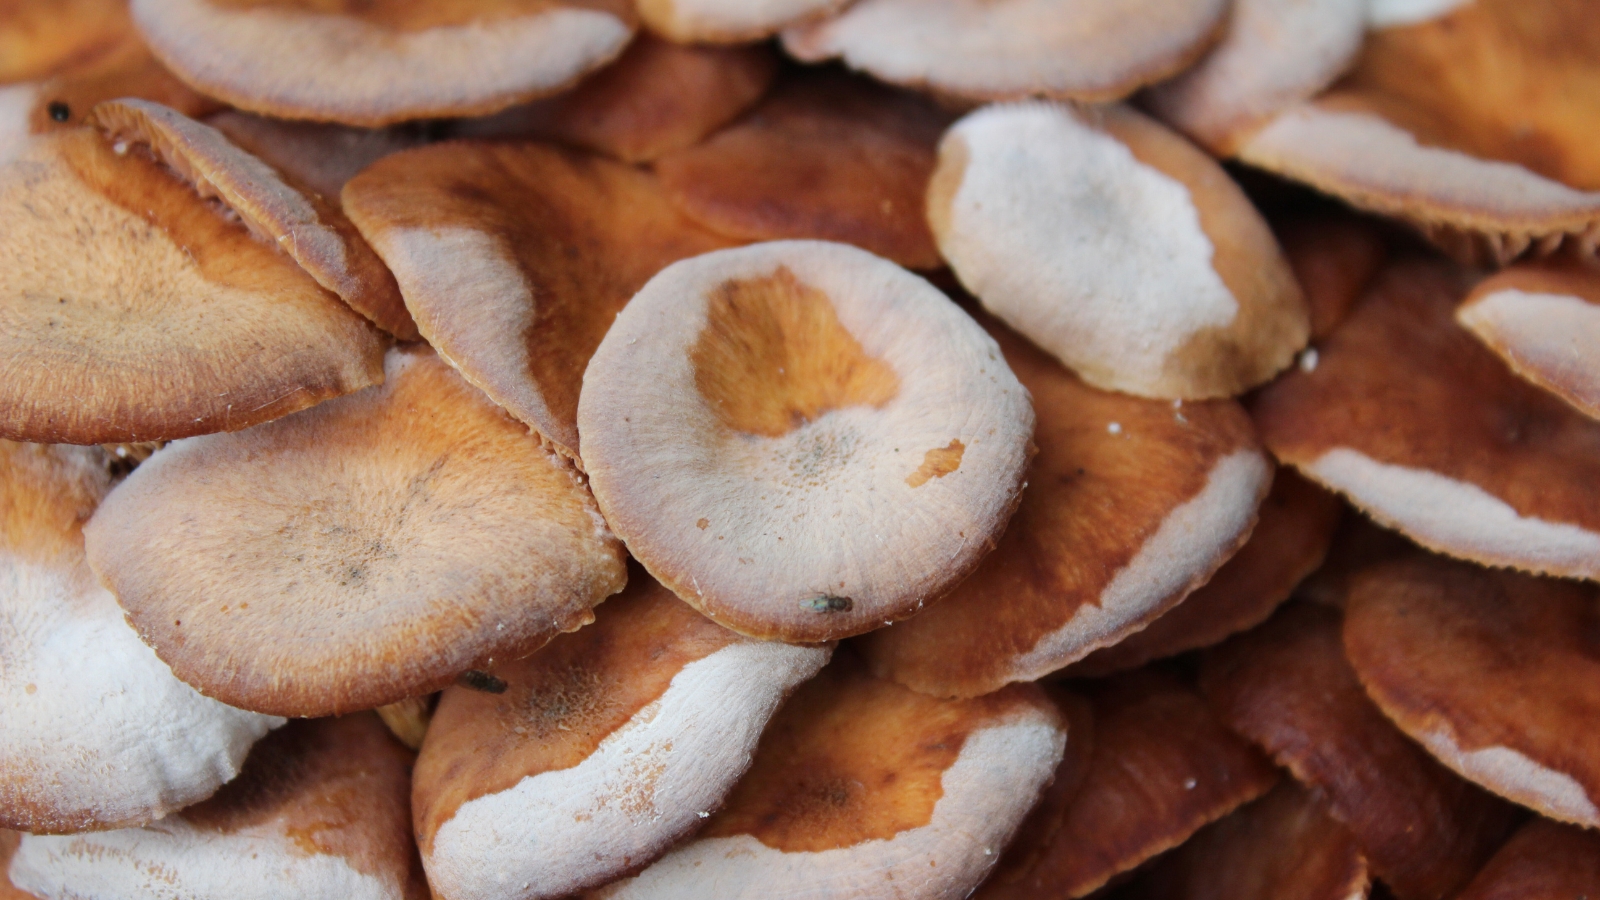
Growing Mushrooms With Spore Prints
While taking spore prints is often done for identification purposes, the prints can also be used to grow new mushrooms from the spores. However, this mushroom cultivation process has a steep learning curve and requires proper procedures, equipment, and sterile techniques to be successful.
Taking a viable spore print is just the first step. Those spores must then be used to inoculate a nutrient substrate, allowing the mycelium to grow before fruiting mushrooms. Mastering factors like moisture levels, fresh air exchange, and preventing contamination takes studied practice.
For beginners interested in growing mushrooms at home, it’s generally recommended to start with pre-made spawn or liquid culture syringes rather than spore prints. An at-home shroom grow kit is also a great way to have a successful first harvest.
Buying Spores Online
There are several reputable online vendors that sell spore prints, syringes, and other mushroom cultivation supplies. One company that has gained a trustworthy reputation is Lab Link Supply.
Lab Link offers a wide variety of psilocybin mushroom spore prints and syringes, guaranteed for quality, purity, and high germination rates. With high-quality spores from a trusted source like this, you’ll be setting yourself up for success when you decide to grow your own mushrooms at home.
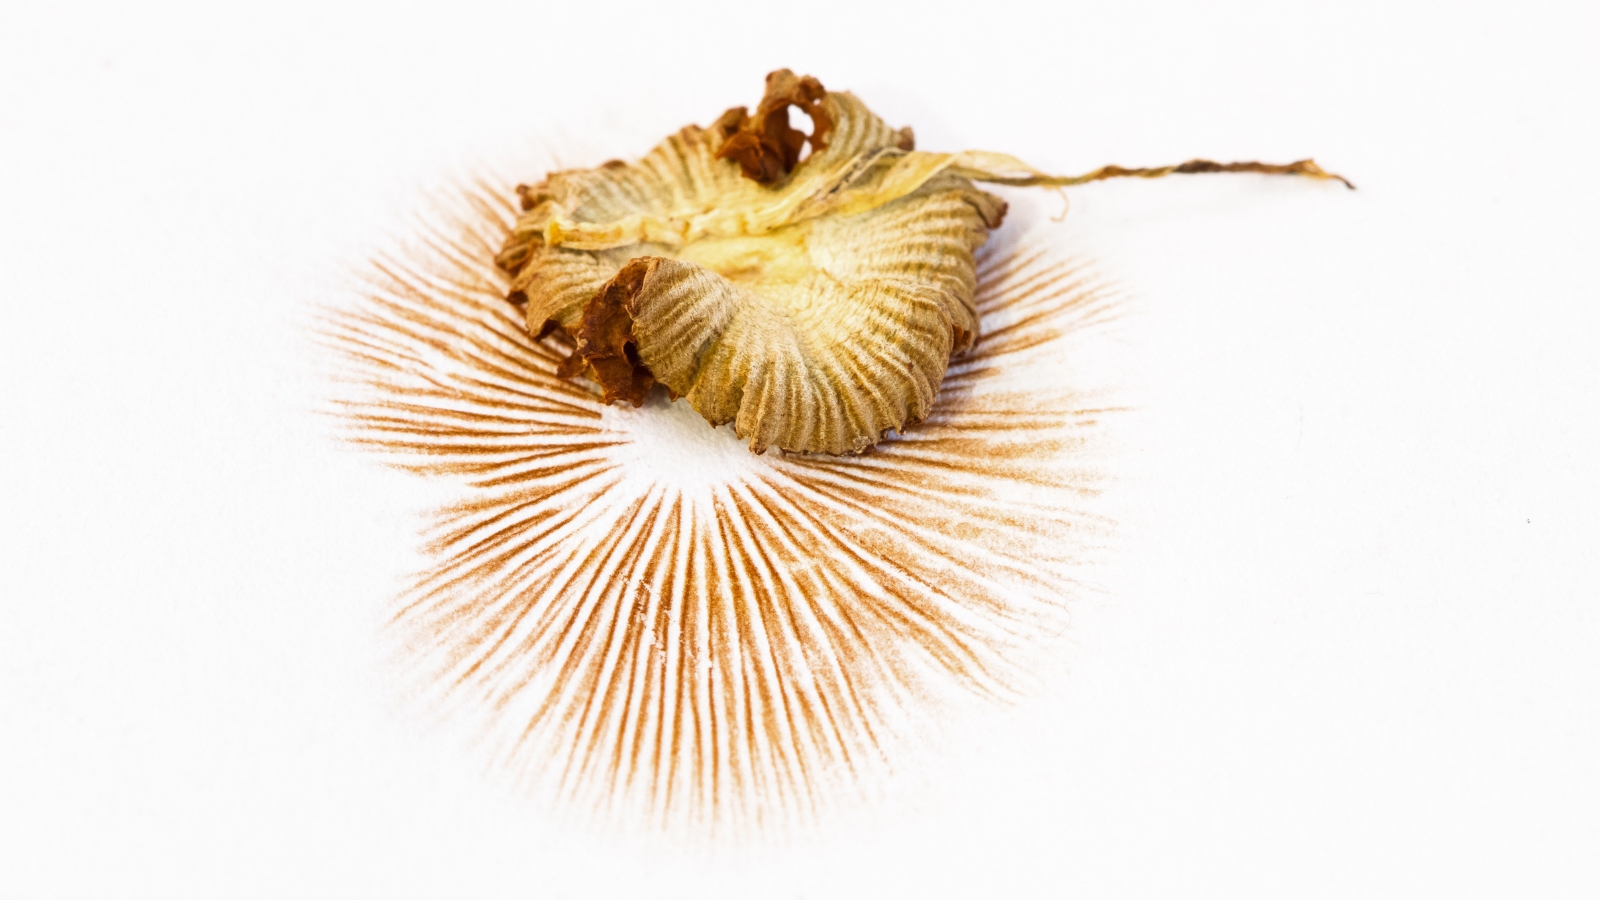
Making Spore Print Art
While spore prints are very useful for mushroom identification and cultivation, their intricate patterns and colors also make them ideal for creating unique forms of art. Mushroom enthusiasts have gotten creative with turning these spore prints into pieces of artwork.
Using Spore Prints Directly
One of the simplest ways to make spore print art is to take a print directly onto an art canvas or watercolor paper. Follow the same process for taking a spore print, but instead of using foil or glass, you’ll place the mushroom cap directly onto the art surface. Once the spores have fallen, you’ve created an original piece of artwork with the distinctive spore pattern.
You can get even more creative by:
- Taking prints from multiple caps in various arrangements
- Using differently colored mushroom species
- Adding backgrounds or embellishments with paint or other media
Making Mushroom Stamps
Another fun technique is to make stamps out of mushroom caps to “print” their shapes and gills.
For this, you’ll need:
- Mushroom caps
- Child-safe stamping ink or acrylic paints
- Paper, canvas, or other stamping surface
Simply press the underside of the cap into the ink or paint, then stamp it firmly onto the paper or canvas. You can create interesting designs and patterns by stamping multiple caps, overlaying colors, or combining with other printmaking methods like leaf rubbing.
Using Mushrooms as Paintbrushes
With a little creativity, mushroom stems and caps can even be used as natural paintbrushes. Dip the cap or end of the stem into diluted acrylic paint or watercolors, and use it to paint freeform lines, dots or add details to your artwork. The irregular shapes and textures of mushrooms produce unique brush strokes.
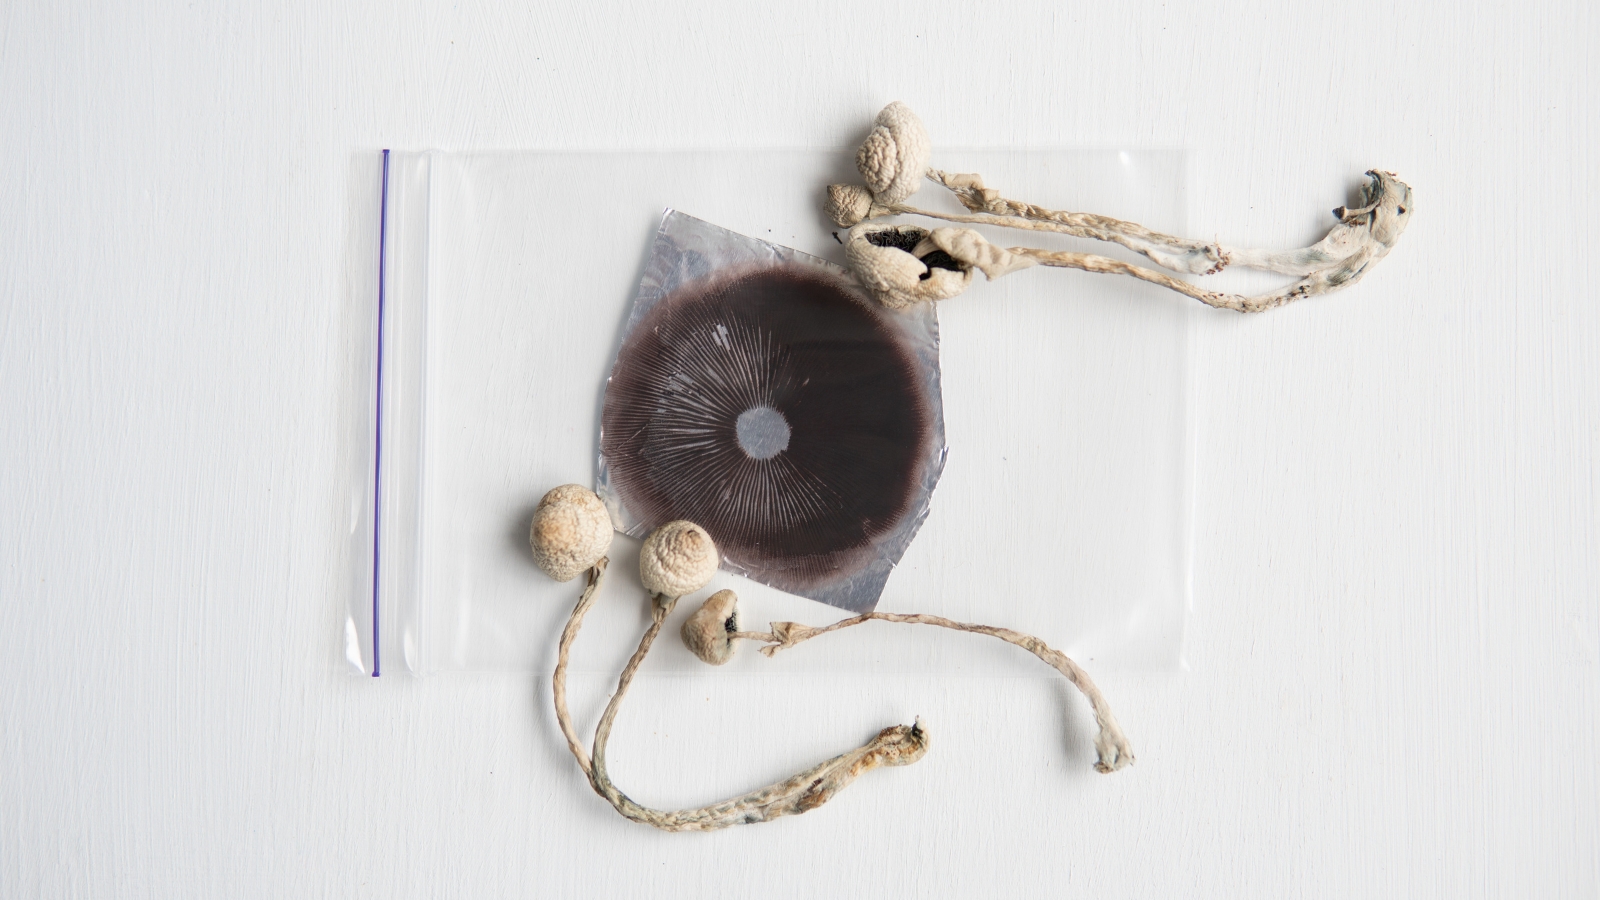
Start Printing!
Taking spore prints is a fun skill for mushroom enthusiasts of all levels. Whether you want to identify species, create artistic spore print masterpieces, or work towards growing your own mushrooms, having high-quality spore prints is the crucial first step.
By following the techniques outlined in this guide, you’ll be able to take clean, well-formed prints that capture the unique colors and patterns of your mushroom finds. With a little practice, the process becomes simple and rewarding.
Don’t let the spore prints go to waste once you have them, either. Use them for further study under a microscope, make beautiful works of fungal art, or attempt to cultivate grows from multi-spore or cloned varieties. The possibilities are endless when you master spore printing.
Most of all, view each spore print as a tiny snapshot of the fascinating life cycle of mushrooms.
